In this article, you’ll learn how to mask and use masking to hide portions of layers you don’t want to appear in your final photo.
What Are Masks?
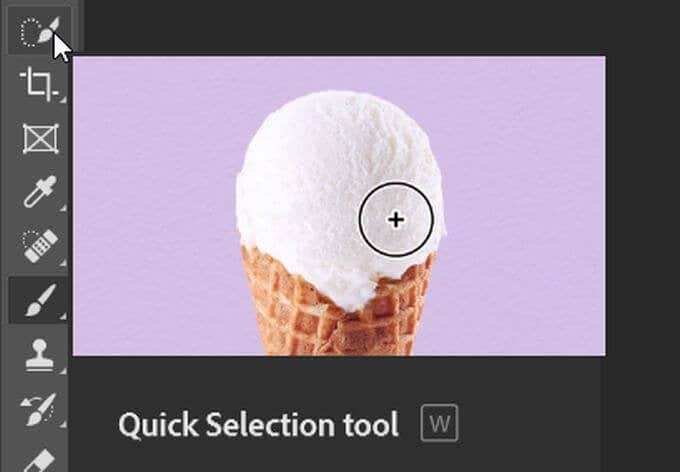
When you add a mask to a layer, it essentially gives you the ability to add or remove parts of that layer. Beside the layer, after adding a mask, you’ll see a greyscale square showing you what parts of the layer the mask has changed. When you use the Brush tool and go over the layer in black, it will remove that part of it. If you paint it in white, it will add it back. You can be more precise by using a selection tool and filling in the selection with either color. You may wonder why you should use a mask instead of just erasing portions of a layer. Masks are non-destructive, meaning when you remove parts of the layer, you aren’t deleting anything. So if you decide you want a particular part back, the image will not lose quality. You can also use masks to achieve many more effects than just the eraser tool alone would allow.
How to Add a Mask in Photoshop
To add a new mask to a Photoshop layer, follow the steps below.
How to Use a Mask to Hide Parts of Layers
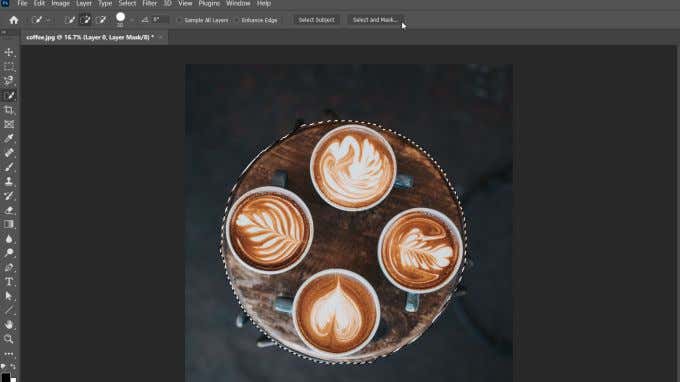
Now that you’ve added the mask, it’s time to use it. In this example, I’m going to change the background behind the coffee in the image. You can clean up the selection if you wish by going in with the brush tool, removing it with black, and adding white.
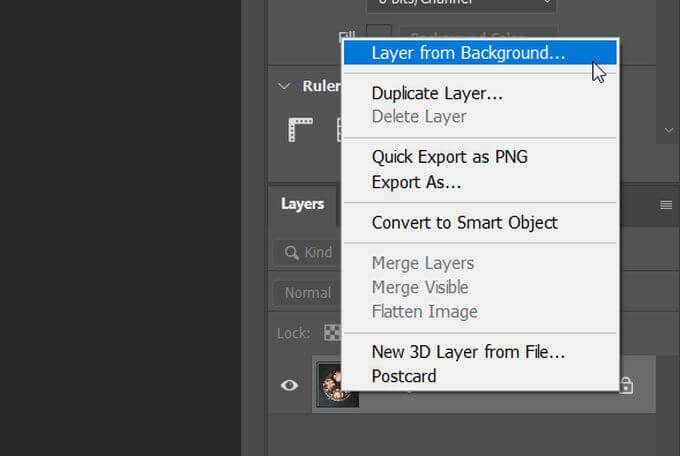
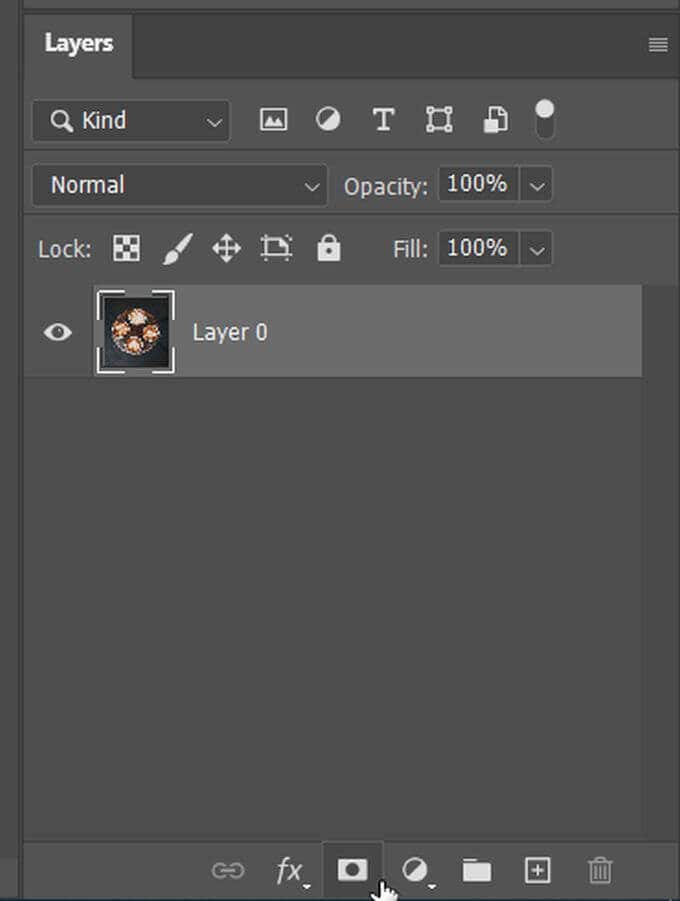
How to Use a Mask to Hide or Show an Entire Layer
Another way to use a mask in Photoshop is to hide or reveal the entirety of any layer. To do this:
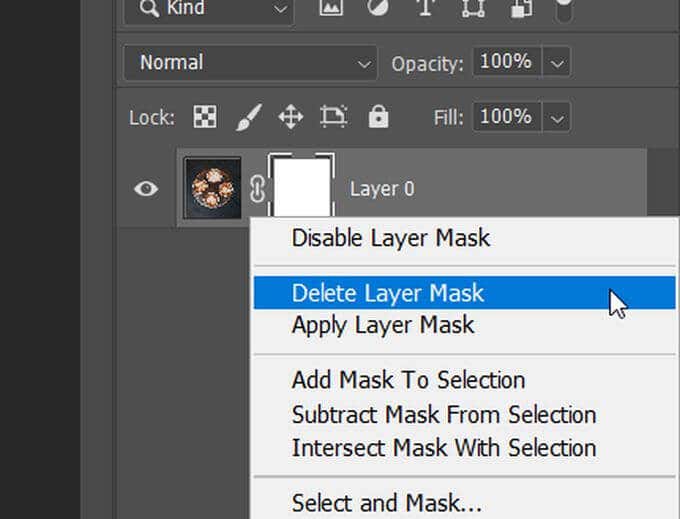
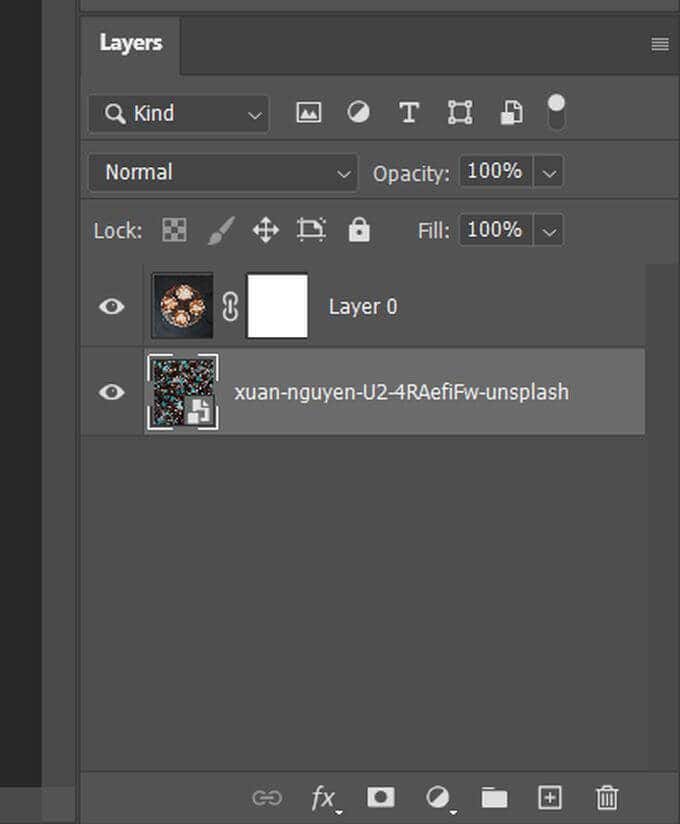
Unlinking Masks From Layers
A mask is automatically linked to a chosen layer, meaning when you move the layer, the mask moves with it. If you unlink them, you’ll be able to move them independently of each other.
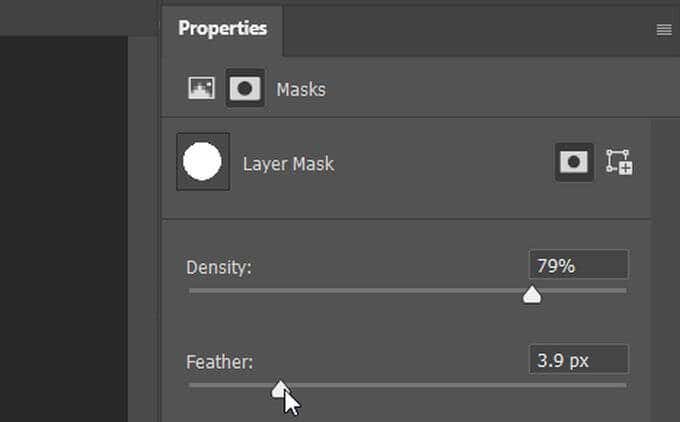
Change Mask Transparency or Feathering
Changing the opacity of the mask, as well as feathering mask edges, can help you achieve the desired look in your photo. Here’s how to change a mask’s transparency: To change mask feathering: Feathering can be a good way to make layers blend more naturally instead of having rough edges.
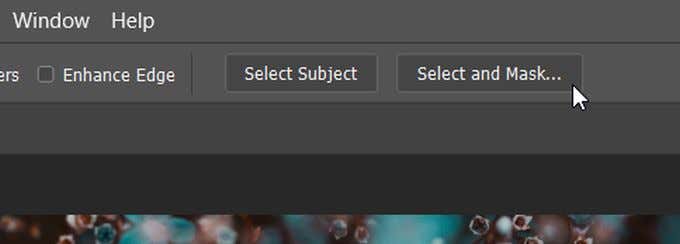
Refining Mask Edges
It can be hard to select the edges of an object perfectly, so there are ways you can refine your selections. An easy way to do this with masks is through the Select and Mask workspace in Photoshop. You’ll enter the Select and Mask workspace. Here, you can choose from multiple options to refine your edge. An easy one to try is the different refine modes. 13- refine Object aware is good to choose when you select complex shapes such as hair or the background is fuzzy. Color aware is good if the image has easily defined, solid colors.
Masking Is an Essential Basic Skill
The ability to hide, reveal, or isolate parts of an image makes masks a powerful Photoshop editing tool at your disposal. For instance, layer masks can help you replace a color in any photo. Have you tried layer masking in Photoshop for quick edits yet?