You don’t need to use your car’s GPS or any additional software. Google Maps allows you to add different pins, shapes, and directions to your routes. Here’s how to make custom routes in Google Maps.
How to Create Custom Routes in Google Maps
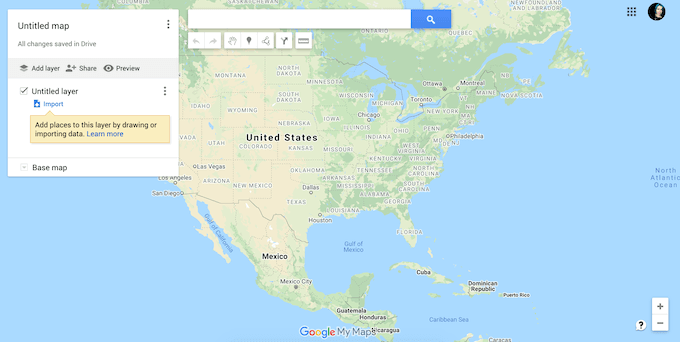
While Google Maps allows you to create your own custom route, it does come with a few limitations. For example, you can’t start completely from scratch, meaning you’ll have to use the default landscape. You can then customize it by adding other elements, including new locations, routes, and shapes. You’ll also have to use Google Maps on your desktop to create maps. To make your first custom map, follow the steps below.
How to Customize Your Google Map
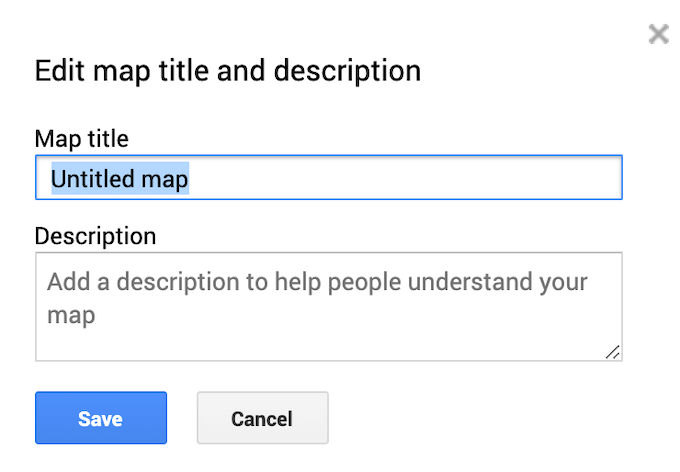
After you choose a title for your new map, you can start customizing it by adding custom routes and elements to it, including layers, markers, shapes, and directions. To start customizing your map, make sure you’re in the map editor window and have a new map open.
Map Layers
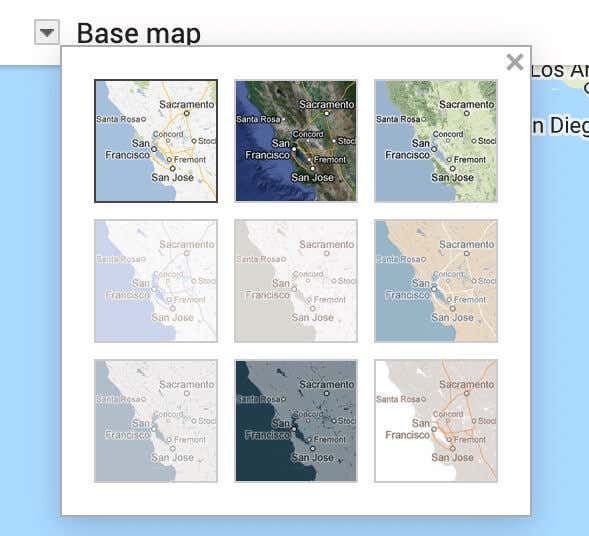
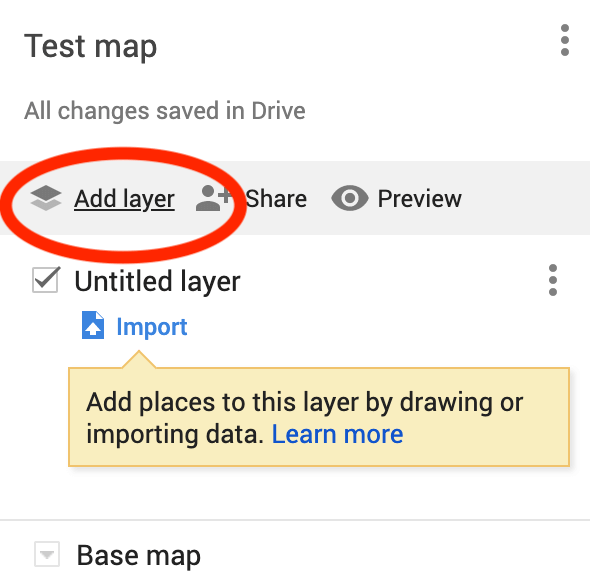
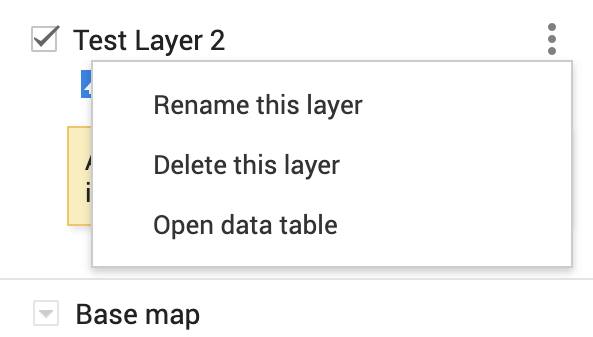
Your custom map is made up of layers. The bottom layer is the Base map. You can always customize the look of your map by changing the Base map layer. To choose a different look for your map, select Base map at the bottom of the menu. Then select your preferred look: Map, Satellite, or Terrain. When you create a new custom map, you have an Untitled Layer added to it by default. You can either create an entire map using just one layer, or add more layers as you go. A multi-layered map allows you to separate different routes and destinations for later access. So you can have multiple road trips or walking paths planned all on top of the same custom map. To add a new layer to your custom map, select Add layer on top of the menu. You can remove layers from your custom map at any time. To delete a layer, select the three vertical dots next to it to open the menu. Then select Delete this layer. There’s also an option to Rename this layer and show Step-by-step directions in the same menu.
Markers
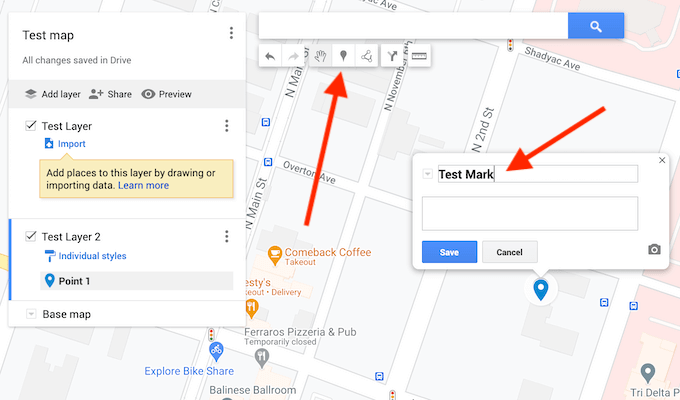
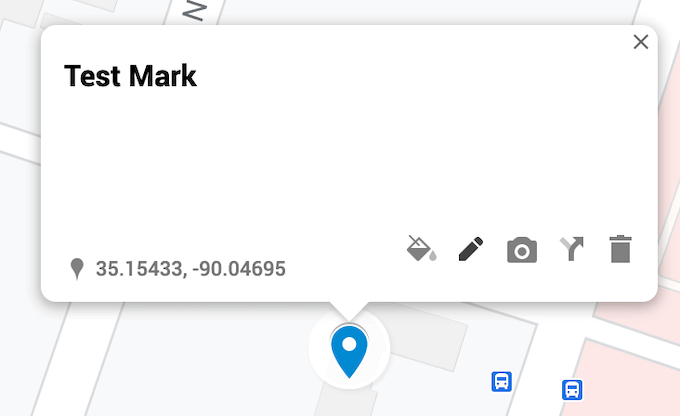
A map marker is a pin that appears on your map marking a certain location or a landmark. Markers are useful when you need to share the exact location of a place with other users, or when you need to add comments or additional notes for a location. To add a marker to your custom map, locate the address or a landmark that you want to pin. Then select Add marker from the toolbar located under the search bar. In the pop-up window, fill in the description of your map marker: name and description. There’s also an option to Add image or video to your marker to make it more visible on the map. When you’re finished, select Save to confirm. You can always go back and edit your marker after you add it to your map. You can change its name, description, style, as well as show directions on your map.
Lines & Shapes
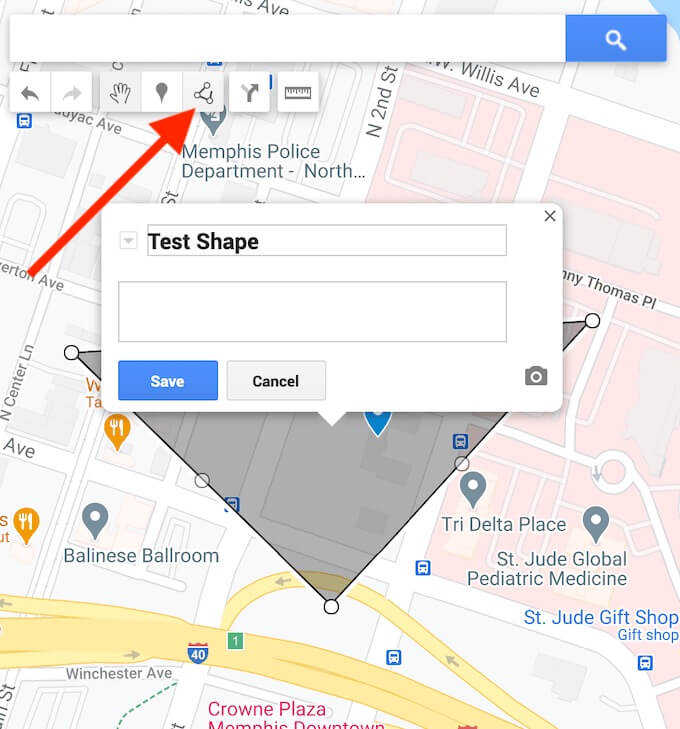
Another element that you can add to your map is a line or a shape. If you need to underline a certain route or area on your map, you can make it more visible by drawing a line or a shape around it. To add a line or a shape to your custom map, select Draw a line from the toolbar located under the search bar. You can then edit this shape after you place it on your map. You can change its name, description, style, add an image or a video to it. There’s also an option to remove it from your map.
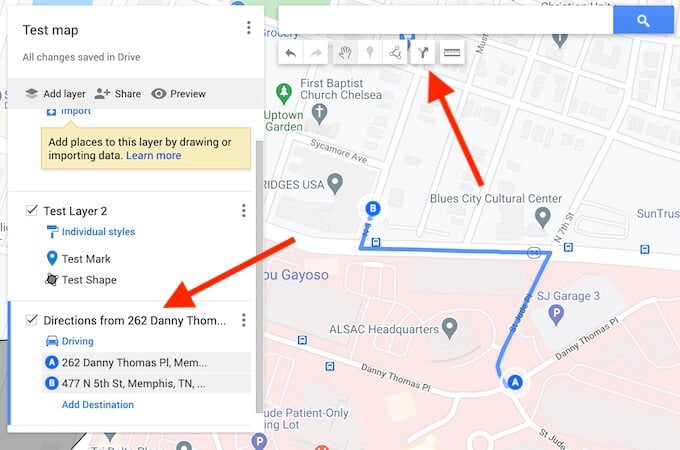
Directions
For many users, the main purpose of creating a custom map is to share it with other users in Google Maps. You can add directions from point A to point B to show as a separate layer on your custom map. To add directions to your custom map, select Add directions from the toolbar located under the search bar. You’ll see a new directions layer appear in the menu on the left side of your screen. First, select your transportation mode: driving, cycling, or walking. Then, add your departure point into the textbox A, and your destination point into the textbox B. You’ll then see your directions appear on the map.
How to Share Your Custom Map
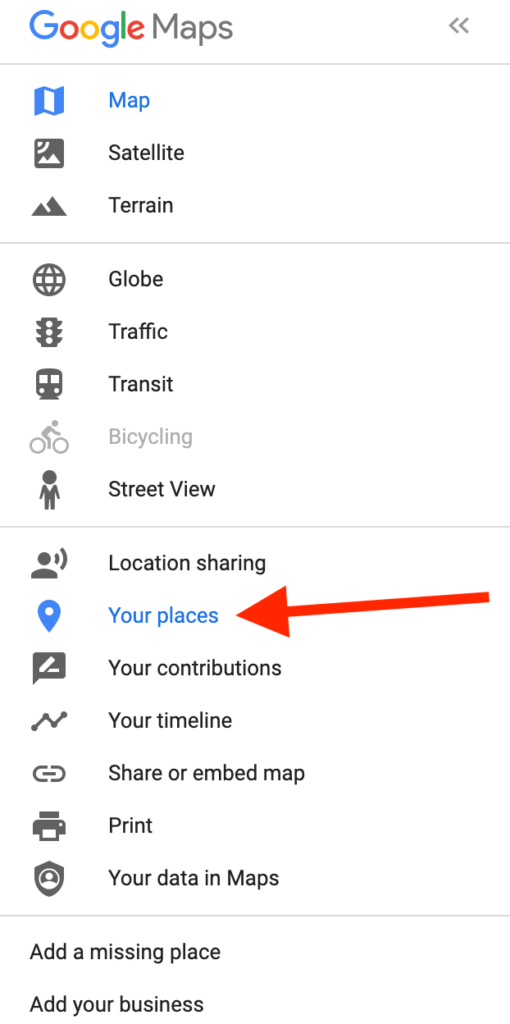
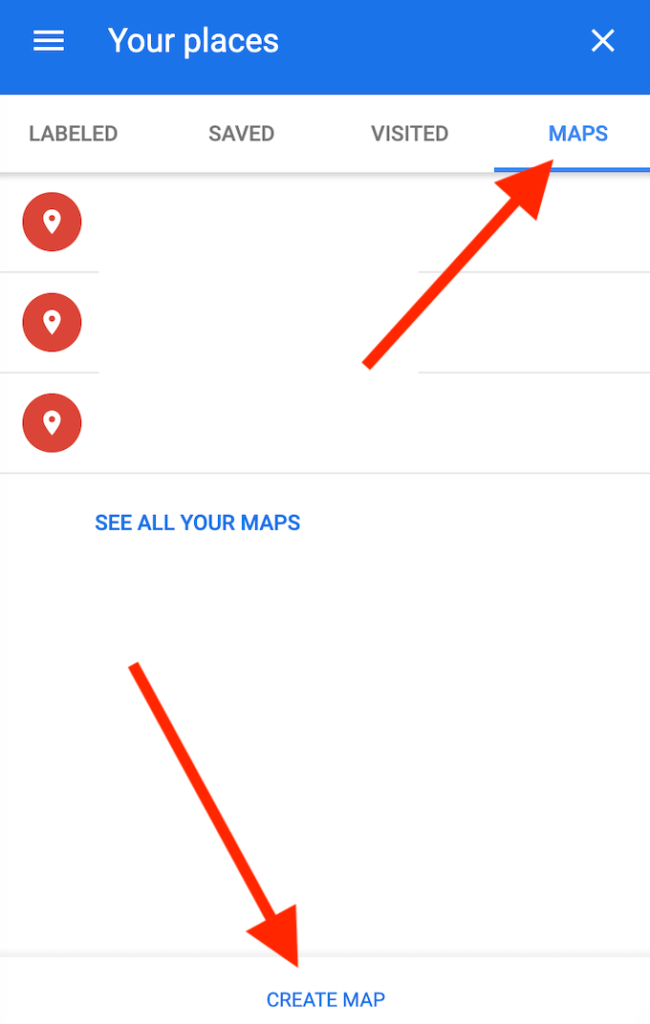
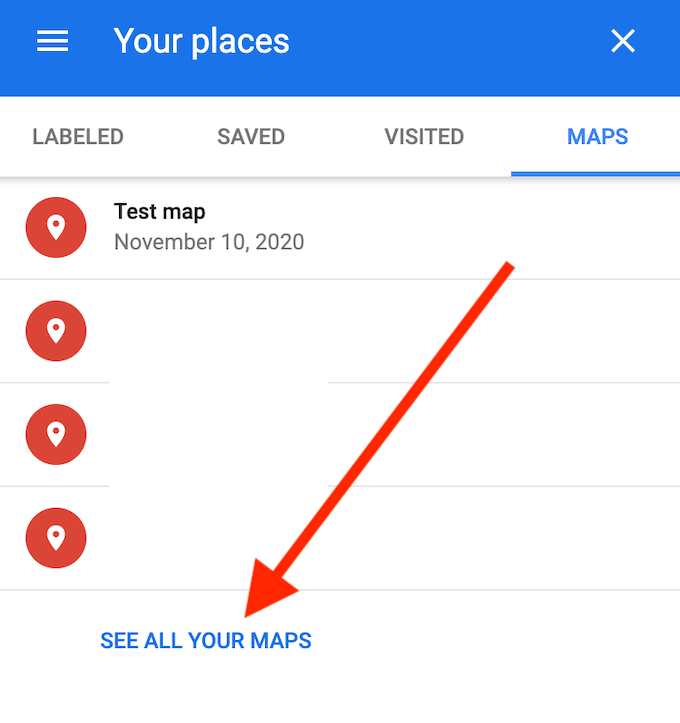
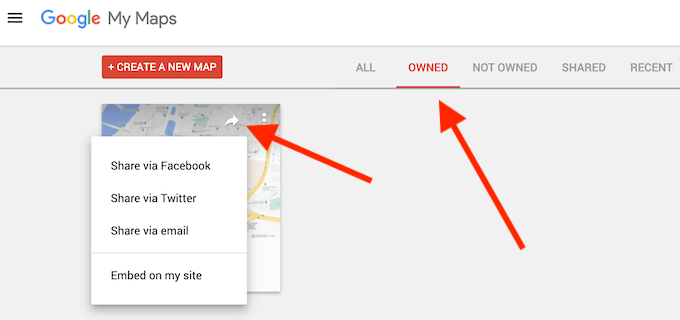
When you finish making custom routes in Google Maps and adding elements to your map, it’s automatically saved to your Google Maps account in Your Places. To access your new map, follow the path Google Maps menu > Your Places > Maps. By default, you’re the only one who can view this map until you share it with other people. To share your custom map, in Your Places menu select See All Your Maps. This will take you to the Google My Maps website. You’ll see your custom map under Owned. To give access to your map to another person, select Share map. You’ll see options to share your custom map via Facebook, Twitter, email, and embed it on your website. Select your preferred method to share your map with other users.
Save Your Custom Routes in Google Maps for Later Use
You can keep all of your routes, directions, and map markers all in one place thanks to the custom maps feature in Google Maps. The next time you decide to go on a road trip with your friends or take a walk through the city, you can open your map and follow the path that you researched in advance. If you later want to see the places that you visited and build your new route around them, you can view them in your location history in Google Maps. Do you save your routes and locations in Google Maps? What Google Maps feature do you find the most useful for creating your custom maps? Share your experience with creating custom routes in Google Maps in the comments section below.